HOME    ABOUT    INSPIRATION    SUBSCRIBE   
Showing posts with label recipes. Show all posts

Wednesday, October 3, 2012

turkey and quinoa stuffed peppers

This recipe feels like fall! It is warm and hearty, but it is also super healthy! These stuffed peppers prove that comfort food doesn't have to derail your healthy habits.

Ground turkey is a low fat alternative to ground beef. We use 95/05 ground turkey that is freshly ground. Quinoa is very high in protein (14% by mass) and calcium, it decreases appetite, and is rich in amino acids and vitamin E. It is a great alternative to rice.Tomatoes have the antioxidants lycopene, vitamin C and vitamin A, and they also reduce inflammation. Bell peppers are loaded with vitamin C, and because they are baked in the oven, the nutrients do not escape as they would if they were cooked in another way.


Turkey and Quinoa Stuffed Peppers

Ingredients
          3 cups quinoa, cooked
          1 lb lean ground turkey
          1 large onion
          2 cans diced tomatoes with no salt added
          1 tbsp cumin
          2 tsp minced garlic or garlic powder
          salt to taste
          shredded 2% milk cheese
          5 or 6 sweet red bell peppers

Directions
          Preheat the oven to 450 degrees.
       
          Cook the quinoa according to package instructions.

          Spray some olive oil spray in a large saute pan and heat on a medium flame. Add onion, garlic and cilantro to the pan. Saute about 2 minutes and add ground turkey. Season with salt and garlic powder, and cumin and brown meat for several minutes until meat is completely cooked through. Add the tomatoes and let simmer for a few more minutes.

          Combine the quinoa and the meat mixture in the large saute pan.

          Prepare the peppers by removing the stem and all seeds by cutting off the top, or cut the peppers in half lengthwise and remove all seeds. Place the peppers in a baking dish and spoon the meat mixture into each, filling them up as much as possible. Top the peppers with shredded cheese.

          Place the peppers into the preheated oven and bake for about 20 minutes, or until peppers are soft.


Wednesday, August 8, 2012

white bean chicken chili


I made this White Bean Chicken Chili the same week as Chicken Enchiladas because they had many of the same ingredients. It was great to be able to just buy more chicken while it was on sale, and to buy cilantro and a bag of onions and be sure that they wouldn't go bad before they were used up.

You can use different amount of each type of bean to suit your taste. White kidney beans are one of Dr. Oz's superfoods. They are high in fiber and help lower blood sugar, so use a lot of them!

White Bean Chicken Chili

Ingredients:
          1 1/2 cups shredded low fat Mexican cheese
          cilantro (optional)
          fat free or light sour cream (optional)
          4 chicken breast halves
          1 small can of chopped green chiles
          2 cans chick peas
          2 cans white kidney beans, aka Cannellini Beans
          2 cans pinto beans
          2 cups frozen corn
          8 cups chicken broth
          2 medium onions
          1 1/2 tbsp ground cumin
          2 tsp chili powder
          4 cloves of garlic, minced
          Salt to taste

Directions:
          Preheat oven to 300. Combine all but the first 3 ingredients in a large, oven-safe pot or dutch oven. Place chili in preheated oven at 300 for 45 minutes, or until chicken is cooked through.

          Once the chicken is fully cooked, pull the breasts out of the chili and pull into small pieces using two forks. Recombine the pulled chicken with the chili.

          Serve chili in bowls. Top with cheese, cilantro, and sour cream to taste.
         

Tuesday, August 7, 2012

skinny chicken enchiladas

I love making dishes that can be eaten for dinner for several days. They mean less cooking and less cleaning when I come home from work. I usually tend to make soups and chilis, but last week I decided to try enchiladas, cooking the chicken in advance to last a few meals. Derek and I loooove mexican food, and this recipe is much healthier than a restaurant's version.

Skinny Chicken Enchiladas

Ingredients:
          corn or flour tortillas
          1 1/2 cups shredded low fat Mexican cheese
          cilantro (optional)
          fat free or light sour cream (optional)
          chopped scallions (optional)
          3 chicken breast halves
          1 can of chipotle chilis in adobo sauce
          2 medium onions
          4 cups tomato sauce
          3 cloves of garlic, minced
          2 tsp cumin
          2 tsp chili powder

Directions:
          Preheat oven to 300. Combine all but the first 2 ingredients in a large, oven-safe pot or dutch oven. Cook chicken in sauce at 300 for 30 minutes, or until cooked through.

          Once the chicken is fully cooked, pull the breasts out of the sauce and pull into small pieces using two forks. Recombine the pulled chicken with the sauce.

          Put 1/3 cup chicken mixture into each tortilla and roll, placing them in a baking dish seam side down. Top with sauce and cheese, and bake in the oven for 15 minutes, or until the cheese is melted and the edges of the tortillas are crispy.

          Top with cilantro, sour cream, and scallions to taste.
           

Monday, March 12, 2012

lovely online magazines

Online magazines are quickly becoming my favorite kind. They are free and they can be accessed from anywhere. Because they are paper-less, issues also tend to have more content. I love reading them at lunch at work and on lazy Sundays.

This is a list of a few of my favorites. Below each image is a description or tagline and link to that magazine's archives. Enjoy!

Collected | The art of refined living.
Dabble | Design, Travel, Food.
Gifted | A holiday gift guide.
High Gloss | A guide to a well-lived life.
Lonny | Lifestyle and home decor.
Matchbook | Celebrating classics - shaken and stirred.
Pure Green | A stylish green lifestyle.
Rue | Your pathway to stylish living. {Here are some extras.}
Sweet Paul | Chasing the sweet things in life.
This list is not meant to be comprehensive of all online magazines out there, just the ones that I've found and enjoy. But if you have recommendations, I'd love to hear about them in the comments section below!

Friday, January 20, 2012

Skinny Beef and Broccoli

**I updated my beef and broccoli recipe to make it even easier and lighter. I changed some of the steps and replaced the brown sugar with Splenda Brown Sugar Blend. This cuts the calories from sugar in half! I also increased the amount of broccoli. I pile as much broccoli as I can into the pan. Don't worry, the broccoli will reduce in size as it cooks.


This beef and broccoli is better than take out! It is very easy to prepare, taking only about 20 minutes total, including prep time. Serve it with rice and some sriracha!


Mongolian Beef and Broccoli
makes 4 servings
  
1/2 pound thin cut beef
1/4 cup of flour or cornstarch
2 teaspoons of canola oil
1/2 tablespoon of chopped ginger
1 tablespoon of chopped garlic (about 2 -3 large cloves)
1/2 cup of water
1/2 cup of low sodium soy sauce
1/2 cup Splenda brown sugar blend
4 crowns of broccoli, separated into florets

Pat the steak slices dry and then mix them with the flour/cornstarch, making sure all pieces are coated, and then shaking off any excess.
Heat a large wok or frying pan and add the oil. Add the beef and cook until browned. While the beef is browning, prepare the sauce in a small bowl. Mix together the garlic, ginger, soy sauce, water, and brown sugar. 
Pour the sauce into the wok and let it cook along with the meat. Add the broccoli florets and allow sauce to slightly thicken.
Serve hot with rice.

Wednesday, January 4, 2012

Skinny Shepherd's Pie

I made this lighter version of shepherd's pie with mashed cauliflower instead of mashed potatoes. It is perfect comfort food for a cold winter day.
1 large head of cauliflower
1 lb lean ground beef
1 large onion, diced
1 tsp olive oil
1 tbsp Worcestershire sauce
1 tbsp ketchup
3/4 lb frozen mixed vegetables (peas, corn, carrots, and green beans)
1 cup 2% milk shredded cheddar cheese

Preheat oven to 400 degrees.
Place head of cauliflower in a pot of water and boil until cauliflower is soft.
In the meantime, saute onions in olive oil until tender. Add the ground beef to the onions and let it brown. Then add the Worcestershire sauce and ketchup. Remove the beef mixture from heat and stir in frozen vegetables.
When cauliflower is soft, drain most of the water and use an immersion blender or mixture until smooth.
Transfer the beef mixture to a casserole dish. Layer the mashed cauliflower, and then the cheese. Bake in 400 degree oven lightly brown.

Friday, November 11, 2011

Lettuce Wraps a la P.F. Chang's

With P.F. Chang's in walking distance from our apartment, it's always tempting to go get my favorite dish, their chicken lettuce wraps. Unfortunately, going out to eat all the time is not cheap, and it's usually not healthy, so I came up with this alternative.

Lettuce Wraps
makes 4 servings

1 lb of ground chicken or pork
1 large onion, diced
1 can of water chestnuts, diced
2 handfuls of bean sprouts, chopped
3 eggs
1/4 cup soy sauce
2 tsp sesame oil
1 tsp rice vinegar
2 tbsp peanut butter
1/4 cup orange juice

1 head of iceberg lettuce

Scramble 3 eggs in a lightly oiled pan. Remove from the pan and set aside in another dish.
Saute diced onions the pan until softened. Add ground meat and cook on high heat until fully cooked, mixing constantly. Add diced water chestnuts, chopped bean sprouts, and cooked eggs, mixing constantly until thoroughly heated. Add soy sauce, peanut butter, rice vinegar, and orange juice to mixture. At the last minute, add sesame oil.
Cut head of lettuce in half, and separate leaves. Serve meat mixture with lettuce cups (and if you have it, some Sriracha).

Mongolian Beef and Broccoli

This beef and broccoli is better than take out! It is very easy to prepare, taking only about 20 minutes total, including prep time. Serve it with rice, and some sriracha for some heat.


Mongolian Beef and Broccoli
makes 4 servings
  
1 pound flank steak or other thinly sliced cut of beef
1/4 cup of flour or cornstarch
3 teaspoons of canola oil
1/2 tablespoon of chopped ginger
1 tablespoon of chopped garlic (about 2 -3 large cloves)
1/2 cup of water
1/2 cup of low sodium soy sauce
1/2 cup brown sugar
2 crowns of broccoli, separated into florets

Pat the steak slices dry and then mix them with the flour/cornstarch, making sure all pieces are coated, and then shaking off any excess.
Heat half of the oil in a large wok or frying pan at medium-high and add the garlic and ginger. Immediately add the soy sauce, water, and brown sugar. Cook the sauce for about 2 minutes and transfer to a bowl. Don't worry if the sauce doesn't look thick enough at this point. The corn starch in the beef will thicken it up later. 
Turn the heat up and add the remaining oil to the wok. Add the beef and cook until browned. Pour the sauce back into the wok and let it cook along with the meat. Add the broccoli florets and allow sauce to slightly thicken.
Serve hot with rice.

Friday, July 22, 2011

Penne with Chicken and Zucchini

I made this for dinner last night and Derek said it was one of the best things he's ever eaten. While I highly doubt that, this was easy to prepare and is a delicious way to eat more vegetables. The pasta I used was actually from Wegman's and bigger than Penne, but I can't remember the name. It stood up well to the chicken, but any type of pasta that you have on hand would taste great.


Penne with Chicken and Zucchini

1 box of penne (or any pasta)
3 small zucchini
3 chicken breasts
1 medium onion
1 jar of tomato sauce (I used tomato & basil)

Add water to a large pot, and put it on high heat. Once the water boils, cook the pasta according to the directions on the package.
Season the chicken with some salt and pepper. In a frying pan, cook the chicken until it is no longer pink inside. While the chicken is cooking, chop the onion and zucchini into bite-sized pieces. Once the chicken is cooked, put it on the cutting board and put the onion and zucchini into the pan to soften. Chop the chicken into pieces similar in size to the onion and zucchini.
Use a strainer or the pot's lid to pour most of the water off of the pasta.
Add the chicken, onion, zucchini, and tomato sauce to the pot with the pasta and stir to coat the pasta with the sauce.

Friday, June 17, 2011

Red Velvet Cake with Cream Cheese Buttercream Frosting

Red velvet cake is a Southern favorite. Living in Blacksburg, which is considerably more southern than northern Virginia, I developed a pretty strong love for it. I've seen it iced with buttercream and with cream cheese frosting, but since not everyone loves the strong cream cheese flavor, I chose a sort of "hybrid" cream cheese buttercream frosting for this cake.


I baked this cake for Derek's grandpa's birthday, and did three layers to make it extra special. The recipe is basic, but be warned, everything in the kitchen will turn red, including you. Enjoy!

Red Velvet Cake (via Pinch My Salt)
2 1/2 cups sifted cake flour
1 teaspoon baking powder
1 teaspoon salt
2 Tablespoons cocoa powder (unsweetened)
2 oz. red food coloring
1/2 cup unsalted butter, at room temperature
1 1/2 cups sugar
2 eggs, at room temperature
1 teaspoon vanilla extract
1 cup buttermilk, at room temperature
1 teaspoon white vinegar
1 teaspoon baking soda

  1. Preheat the oven to 350 degrees. Butter and lightly flour two 9-inch round cake pans.
  2. Sift together the cake flour, baking powder, and salt into a medium bowl; set aside.  In a small bowl, mix food coloring and cocoa powder to form a thin paste without lumps; set aside.
  3. In a large bowl, using a hand mixer or stand mixer, beat butter and sugar together until light and fluffy, about three minutes.  Beat in eggs, one at a time, then beat in vanilla and the red cocoa paste, scraping down the bowl with a spatula as you go.  Add one third of the flour mixture to the butter mixture, beat well, then beat in half of the buttermilk. Beat in another third of flour mixture, then second half of buttermilk. End with the last third of the flour mixture, beat until well combined, making sure to scrape down the bowl with a spatula.
  4. Make sure you have cake pans buttered, floured, and nearby.  In a small bowl, mix vinegar and baking soda.  Yes, it will fizz!  Add it to the cake batter and stir well to combine.  Working quickly, divide batter evenly between the cake pans and place them in a preheated 350 degree oven. Bake for 25-30 minutes. Check early, cake is done when a toothpick inserted in the center comes out clean.
  5. Cool the cakes in their pans on a wire rack for 10 minutes. To remove the cakes from the pan, place a wire rack on top of the cake pan and invert, then gently lift the pan.  Allow cakes to cool completely before frosting.
Cream Cheese Buttercream Frosting (via An Edible Mosaic)
4 large egg whites
1 1/4 cup sugar
1/8 teaspoon salt
1 tablespoon vanilla
22 oz (5 1/2 sticks) unsalted butter, room temperature
12 oz (1 1/2 boxes) cream cheese, room temperature

  1. In a double boiler, whisk together the egg whites and sugar.  Heat until the sugar is dissolved and the mixture is warm (about 140F), whisking frequently (about 3-5 minutes). 
  2. Transfer the egg white/sugar mixture to the bowl of a stand mixer fitted with the whisk attachment.  Add the salt and beat on high speed until the mixture is thick and glossy (about 5-7 minutes). 
  3. Beat in the extract, then gradually add the butter and cream cheese piece by piece while beating; stop beating when the buttercream is thick and smooth.

Thursday, April 28, 2011

Top 10 Tips for More Successful Baking from The Kitchn

One of my favorite cooking & baking blogs, The Kitchn, recently posted their Top 10 Tips for More Successful Baking. I make no secret of the fact that I LOVE baking, and I am always eager to learn new techniques and methods, so I thought I'd share the list.

1. Adjust the Oven Temperature - One of the best things you can do for yourself is buy an oven thermometer so you know exactly how hot your oven is, no matter what the dial says. If the temperature is very off, adjusting the oven dial or calling in a professional can help.
2. How to Whip Egg Whites - Here's how to tell the difference between soft peaks, firm peaks, stiff peaks, over-whipped white. Same scenario applies to making whipped cream.
3. How to Separate Eggs - No more headaches over broken yolks!
4. How to Quickly Soften Butter - Because we don't always have the foresight to set out a stick of butter to soften ahead of time.
5. How to Tell When a Cake is Finished Baking - Cakes can be such fussy things. The last thing you want to worry about is whether it's finished baking.
6. Baking Soda vs. Baking Powder - For anyone who's ever run out of one and been tempted to substitute the other. (Also, here's how to tell if baking soda has expired.)
7. How to Keep Brown Sugar Soft - And what to do if it hardens up.
8. How to Transfer Pie Crust - You go to all the trouble of making a pie crust from scratch, but how do you get it in the darn pan?!
9. How to Toast Nuts - Not only does this make your house smell amazing, but you'll be surprised at how much better your baked goods taste.
10. How to Fold Batters - This is how you get the fluffy baked goods instead of door stops.

Read the post on The Kitchn blog for the list complete with links to instructions for each of the tips!

Wednesday, April 6, 2011

Two Bean Turkey Chili

I'm always looking for meals that are easy to prepare, hearty (because I need to fill up my eternally hungry German boy), and healthy. Not only does homemade chili meet these requirements, but I can make a lot at one time to hopefully last a few days. Like most of the meals I make, I tend to change this recipe based on what we're in the mood for and what's on sale. If ground chicken or beef is on sale, I'll substitute it for chicken. If we're in the mood to eat vegetarian, I'll add more variety, like black beans and chick peas. Any way it's altered, chili is always delicious comfort food.


Two Bean Turkey Chili

1 large onion, diced

1.25 pounds of ground turkey

1 large can (or 3 smaller cans) of kidney beans

1 large can (or 3 smaller cans) of pinto beans

2 28oz cans of petite diced tomatoes

1 package of McCormick 30% less sodium Chili Seasoning

4 cups of water

Toppings

Shredded cheddar cheese

Diced onions

Nonfat plain yogurt or nonfat sour cream


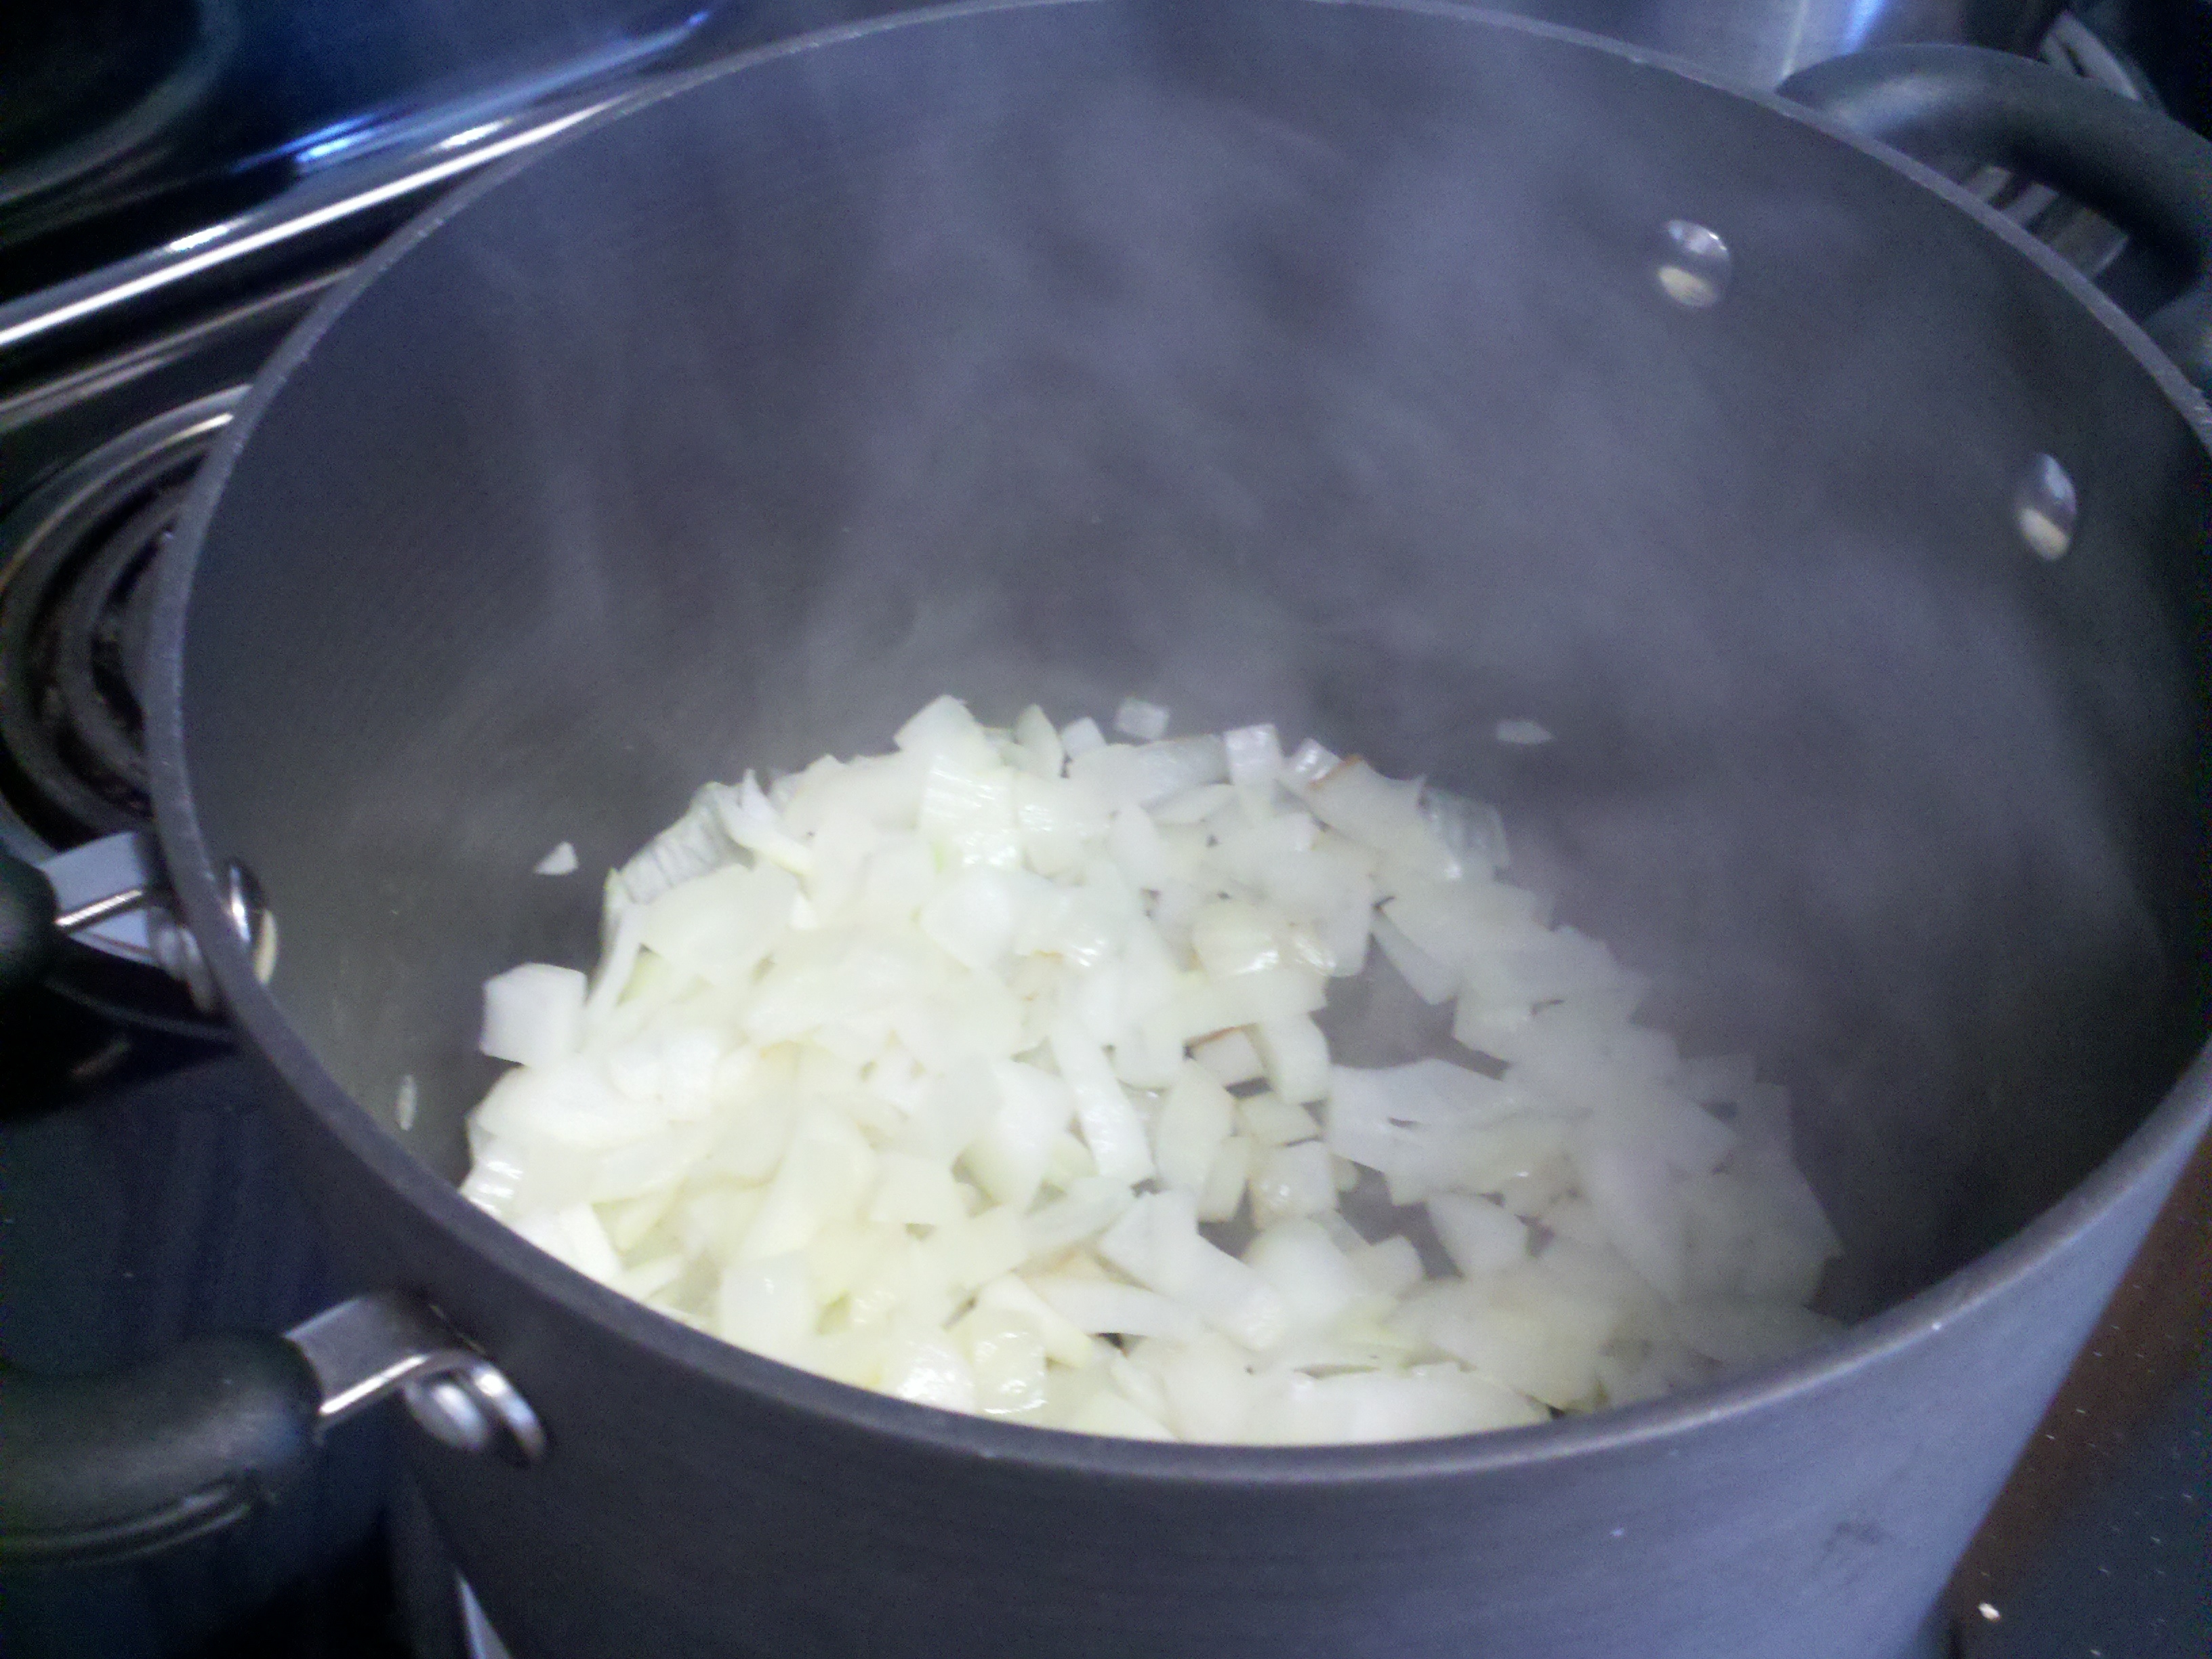
In a very large pot, sauté diced onions for 5 minutes, or until tender, stirring frequently.

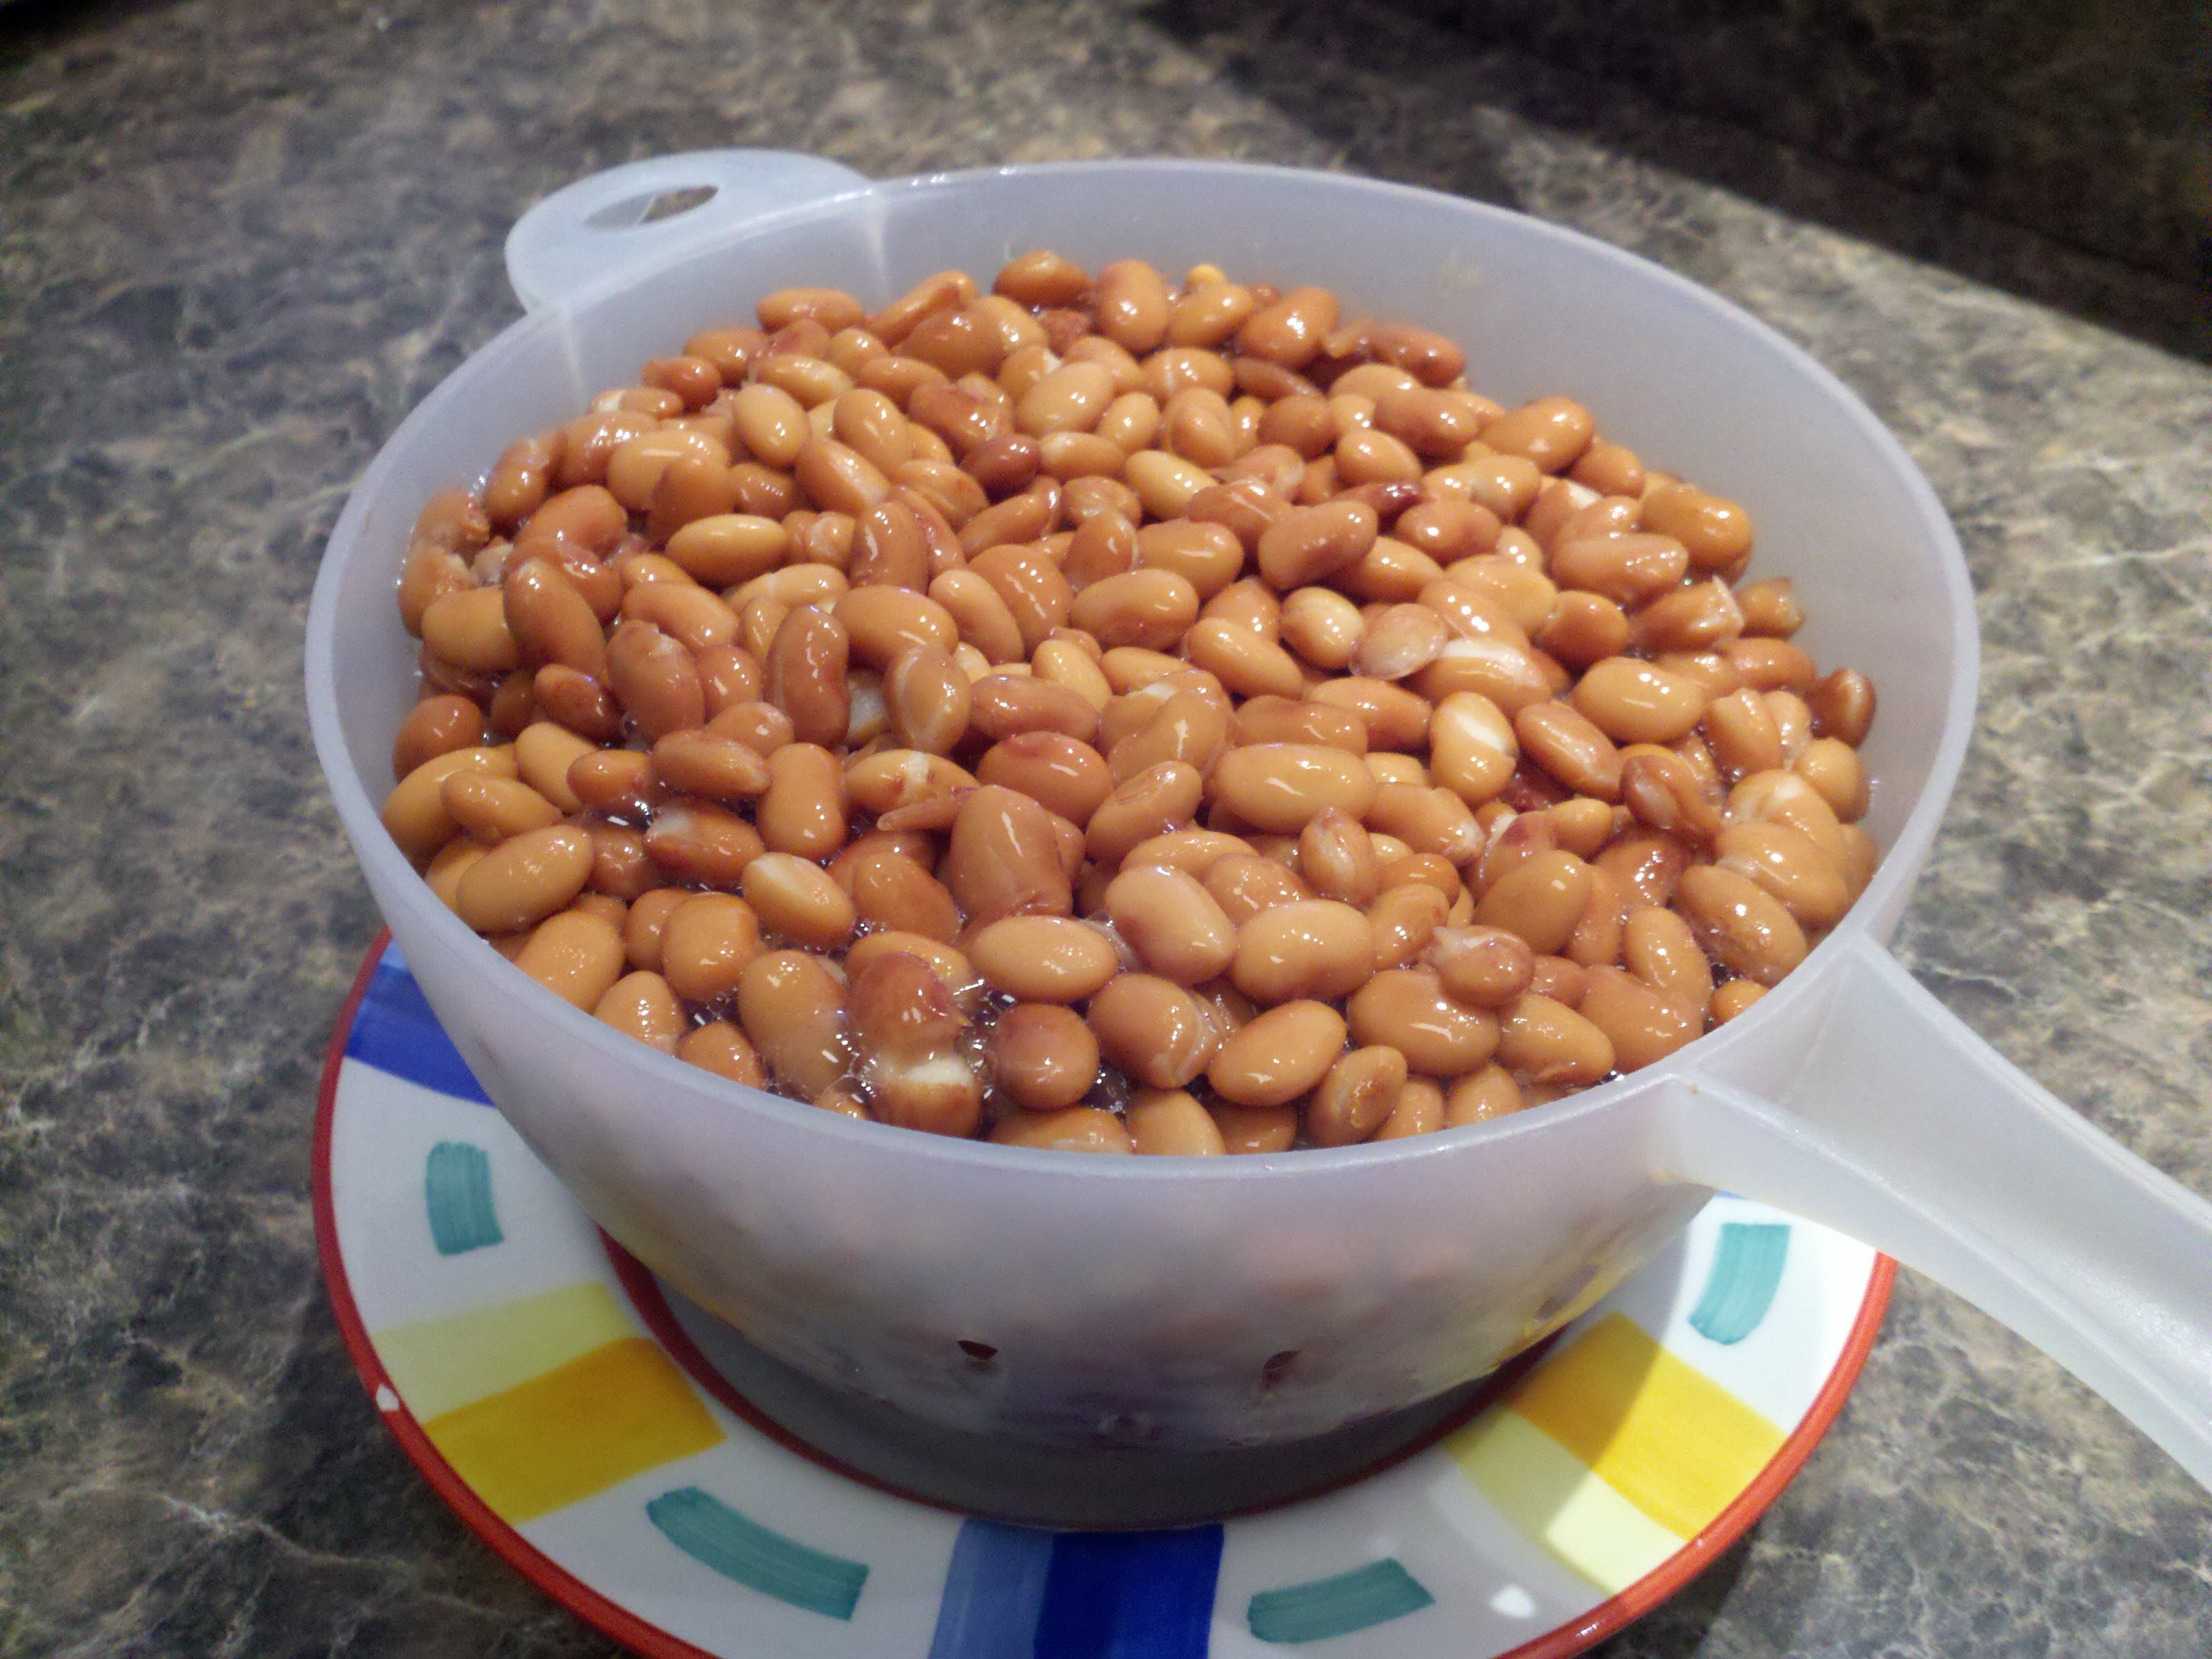
In the meantime, open and drain the cans of beans, and open the cans of tomatoes.

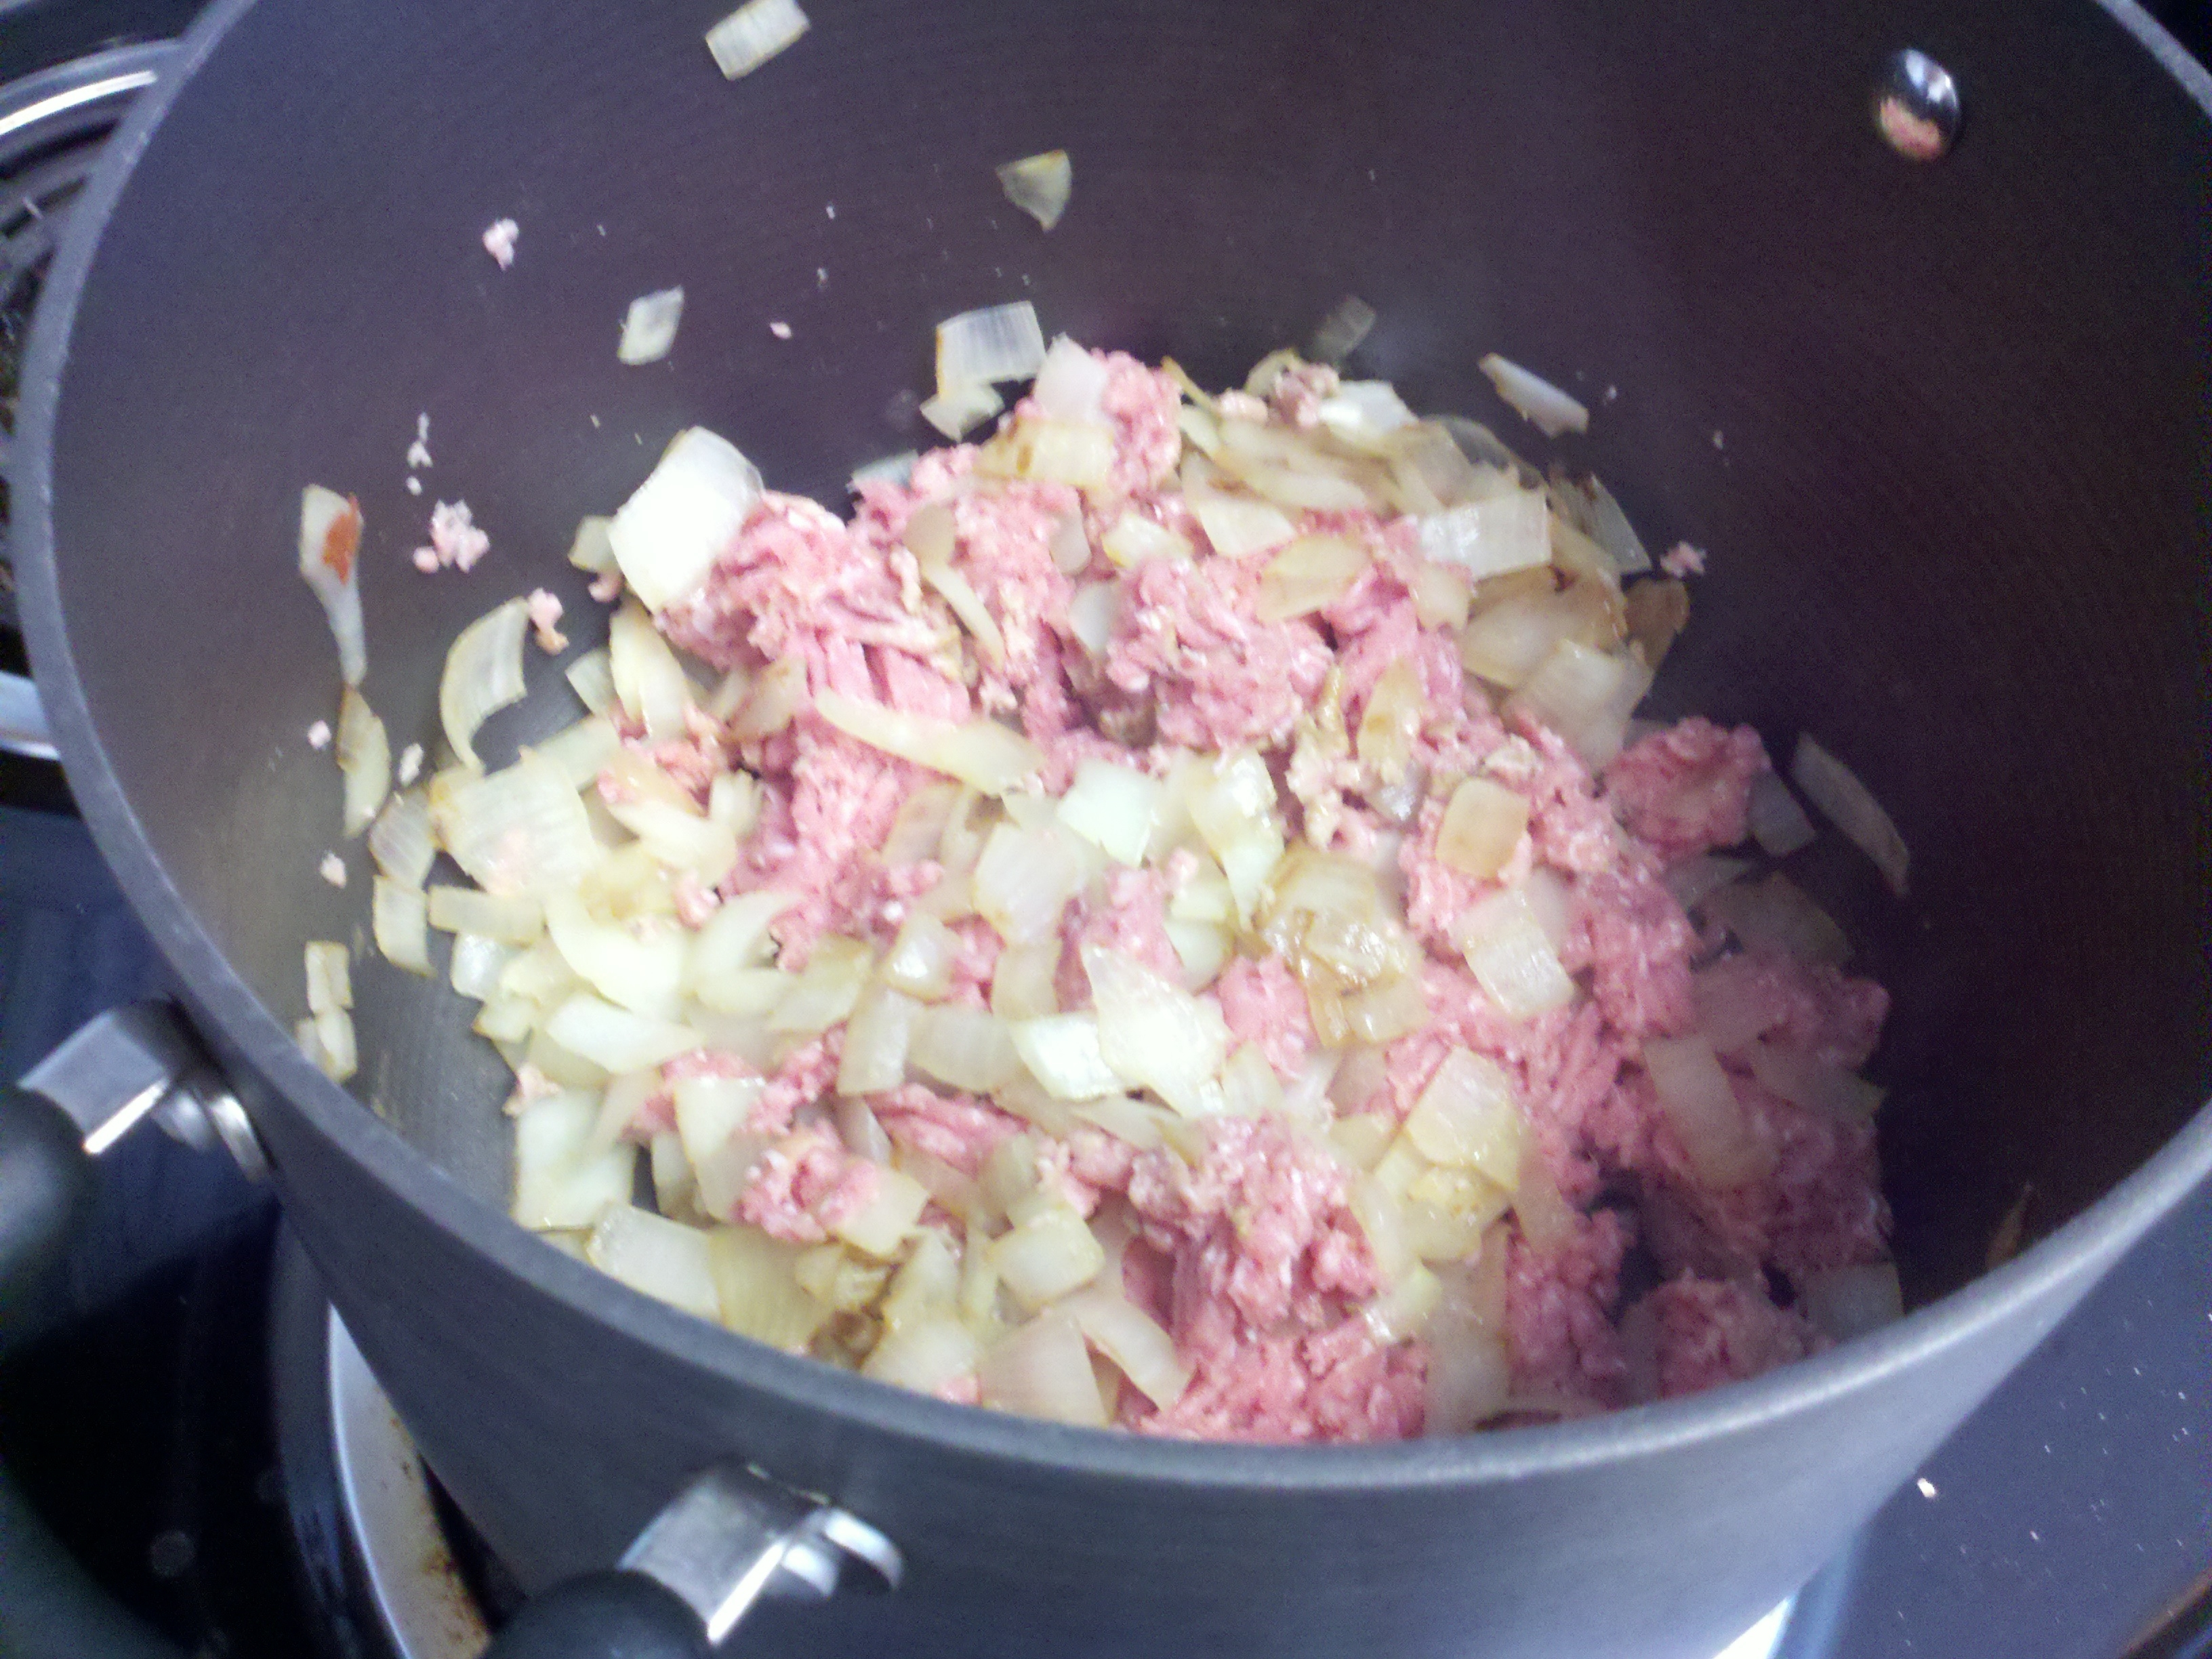
Add the meat to the pot, stirring frequently until brown.

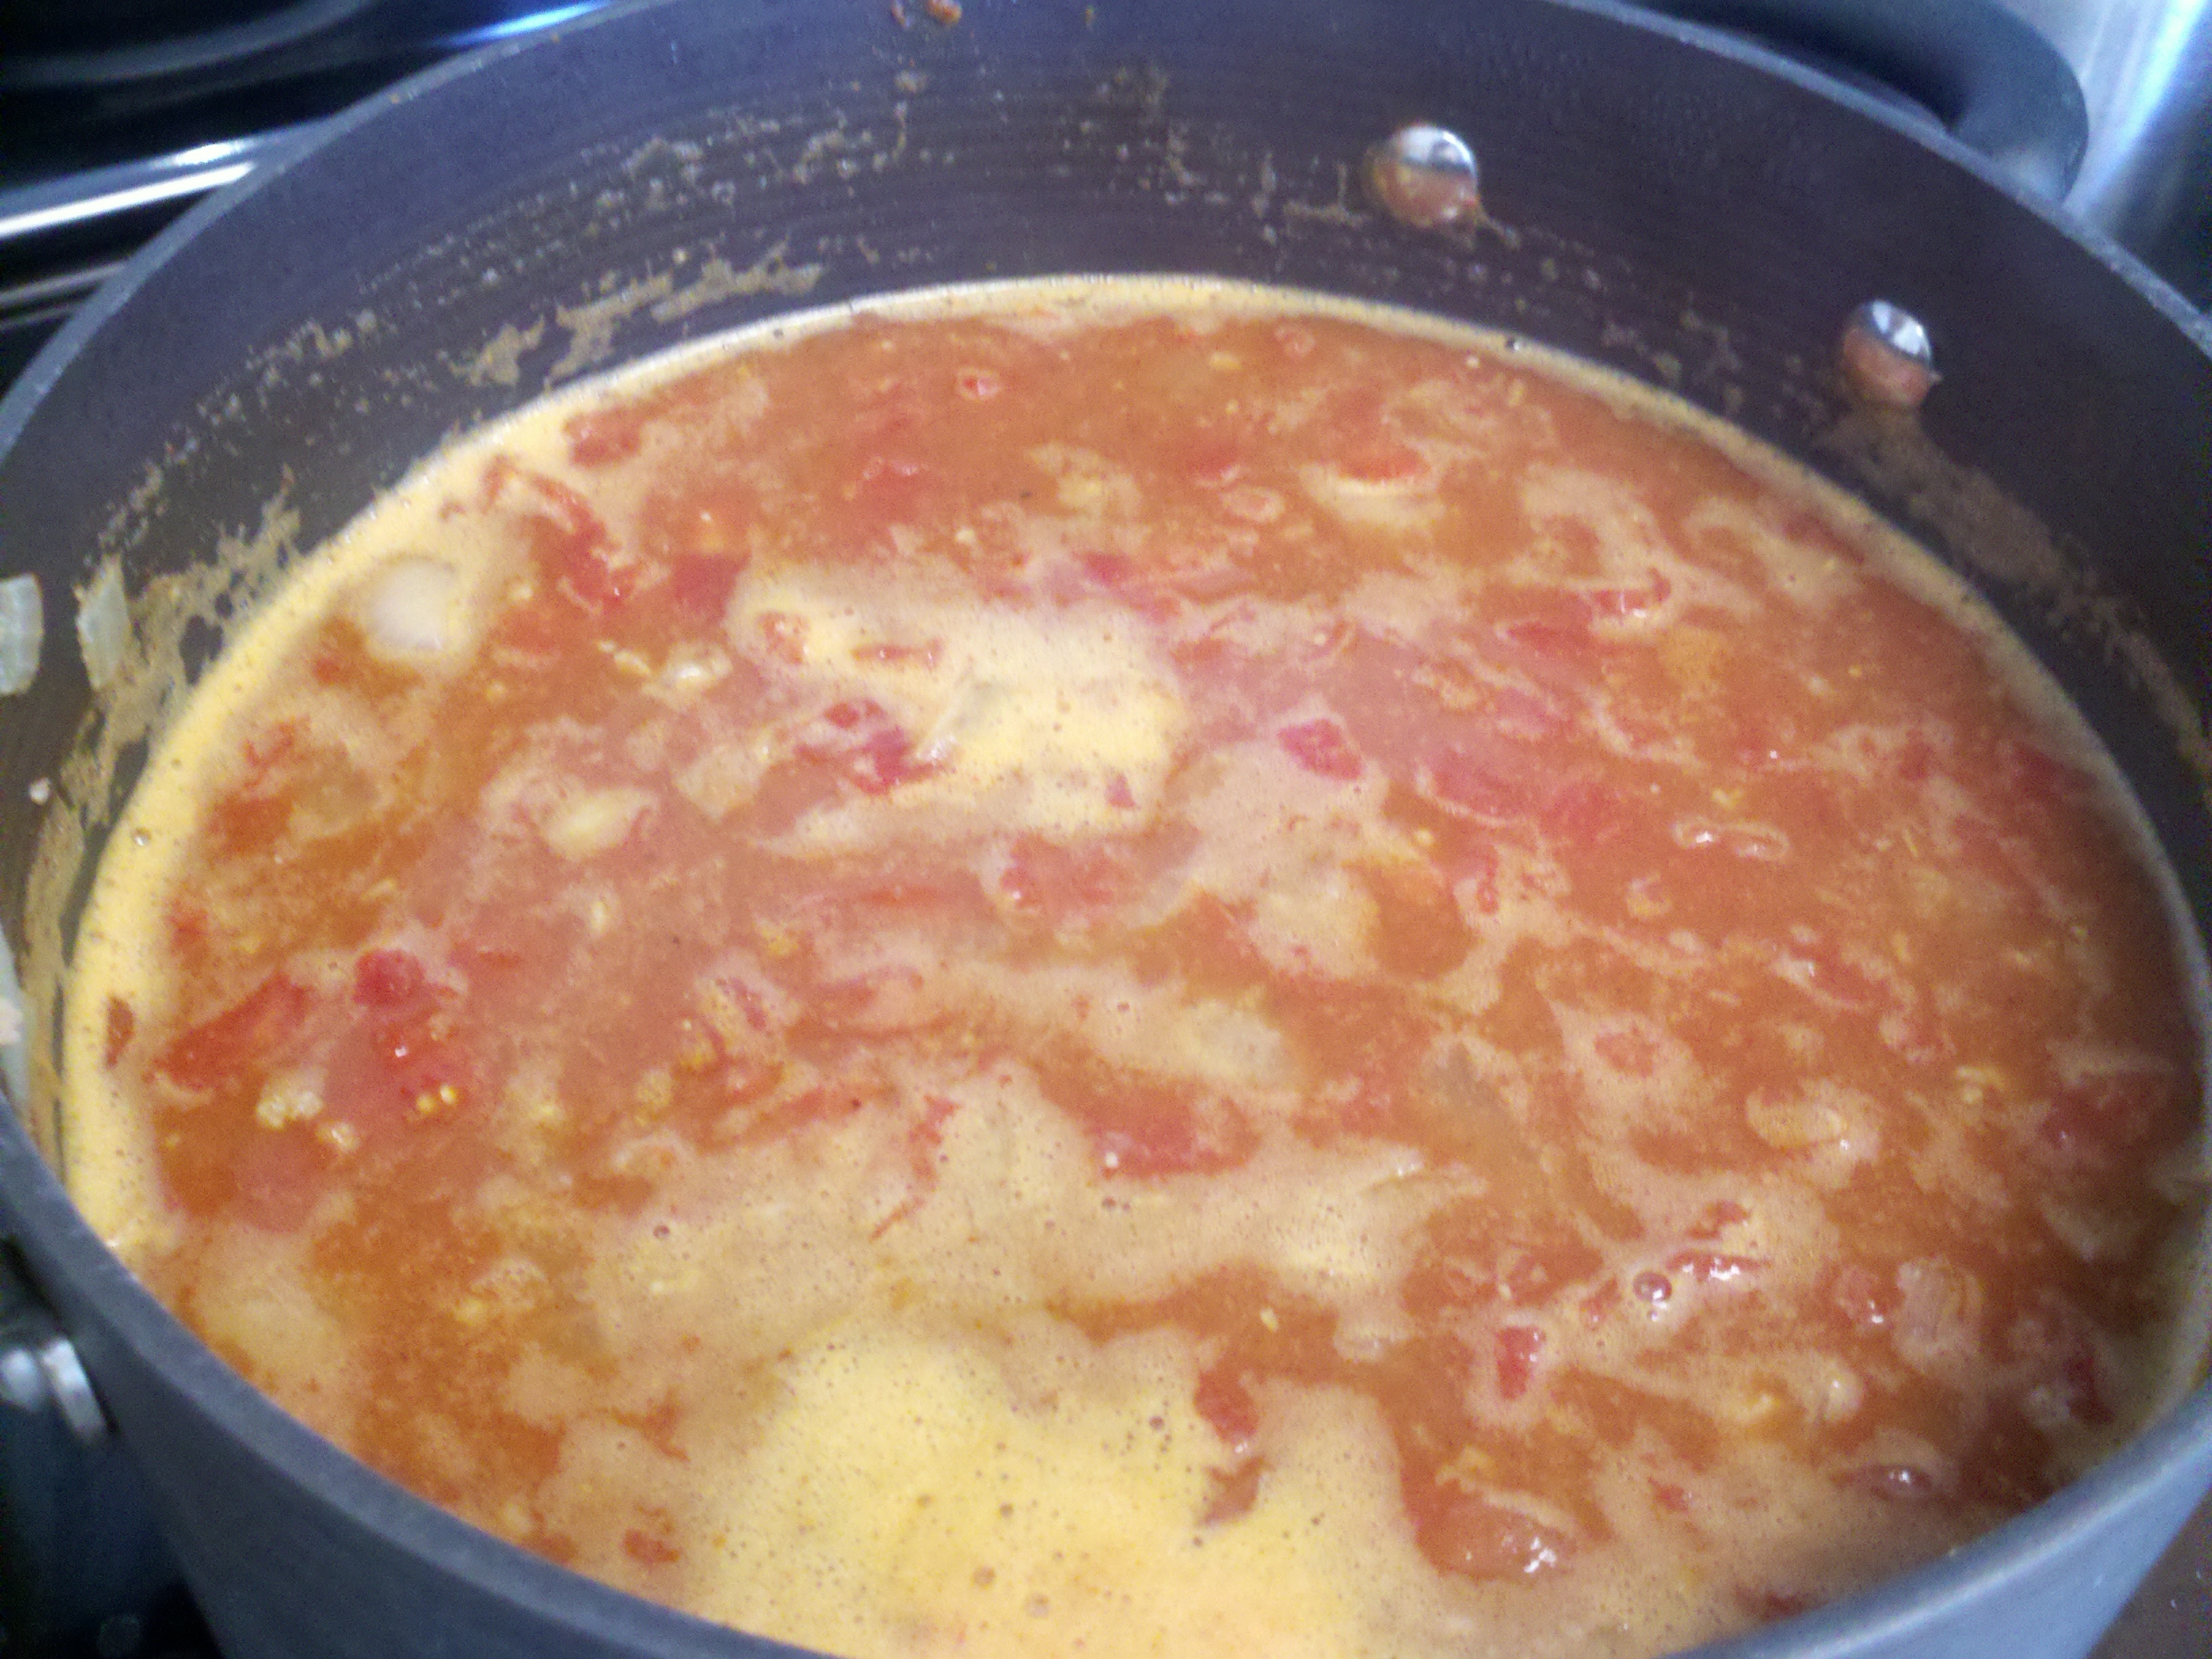
Once the meat has browned, add the beans and tomatoes to the pot, as well as the chili seasoning and water.

Let the chili simmer until you are ready to eat.

Top with the toppings of your choice and serve with rice, chips, or bread.

Enjoy!

Thursday, February 25, 2010

Rasberry Crumb Breakfast Bars

I found this tempting recipe on Smitten Kitchen and tried it out this weekend. These bars are great for grabbing as you run out the door. They're just plain delicious, too!

Raspberry Crumb Breakfast Bars


For the crust and crumb:
1 1/2 cups all-purpose flour
1 cup firmly packed dark brown sugar
1 1/4 cups rolled oats
3/4 teaspoon salt
3/4 teaspoon baking powder
1/2 teaspoon baking soda
1/2 teaspoon cinnamon
3/4 cup (1 1/2 sticks) unsalted butter, cut into 1-inch pieces

For the raspberry filling:
1/4 cup firmly packed dark brown sugar
1 tablespoon grated lemon zest
1/2 teaspoon cinnamon
2 tablespoons all-purpose flour
1 pound raspberries, fresh or frozen
1/4 cup fresh lemon juice
2 tablespoons unsalted butter, melted and cooled

Make the crust and crumb: Preheat the oven to 350°F. Butter the bottom and sides of a 9-by-13-inch glass or light-colored metal baking pan. Put a long piece of parchment paper in the bottom of the pan, letting the parchment extend up the two short sides of the pan and overhang slightly on both ends. (This will make it easy to remove the bars from the pan after they have baked.) Butter the parchment.
Put the flour, brown sugar, oats, salt, baking powder, baking soda, and cinnamon in a food processor. Pulse in short bursts until combined. Add the butter and pulse until loose crumbs form.
Reserve 1 1/2 cup of the mixture and set aside. Pour the rest of the mixture into the prepared pan and use your hans or the back of a large wooden spoon to push the crust into an even layer at the bottom of the pan. The crust should touch the sides of the pan. Bake until golden brown, 12 to 15 minutes. Transfer to a wire rack and let the crust cool. Keep the oven on while you make the raspberry filling.
Make the raspberry filling: In a medium bowl, whisk the sugar, lemon zest, cinnamon and flour together. Add the raspberries, lemon juice and butter and use your hands to toss gently until the raspberries are evenly coated.
Assemble and bake the bars: Spread the raspberry filling evenly on top of the cooled crust. Sprinkle the reserved crust mixture evenly on top of the filling.
Bake for 35 to 45 minutes, rotating the pan every 15 minutes, until the top is golden brown and the filling starts to bubble around the edges.
Transfer to a wire rack to cool completely, then cut into squares and serve. The bars can be stored in the refrigerator in an airtight container for up to two days.

LinkWithin

Follow Me on Pinterest